
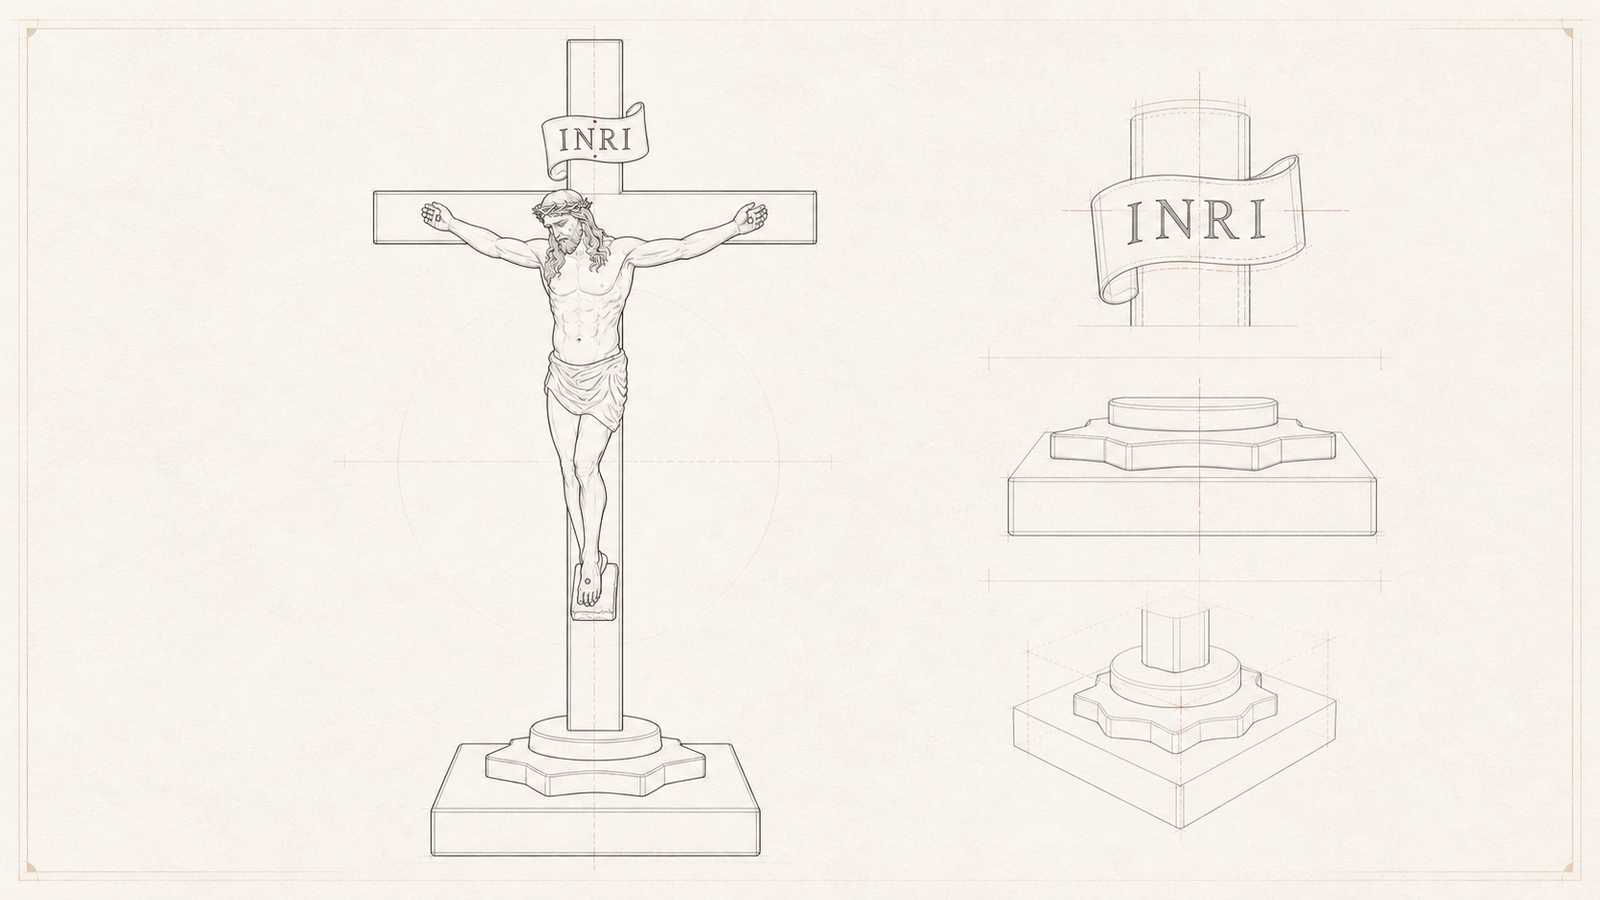
Most custom carvings do not begin with a finished drawing. They begin with an idea: a subject, a purpose and a few details that matter. AI can make that idea visible, but turning an image into a convincing wood carving still requires questions, decisions and professional design work.
This case study follows one freestanding crucifix from an initial prompt to a refined drawing, a production-ready 3D model and the finished carving.
1. Start With a Clear Brief
The project began with four essential requirements: a freestanding Crucifixion cross, a strongly three-dimensional figure of Christ, a traditional INRI plaque and a stable pedestal base.
A useful first prompt does not need to describe every surface. It only needs to establish the direction:
Design a freestanding wooden crucifix featuring Jesus on a simple Latin cross. Include a traditional INRI plaque above the figure and a stable base so the crucifix can stand independently. The overall appearance should be reverent, balanced and suitable for a church, prayer space or religious display.
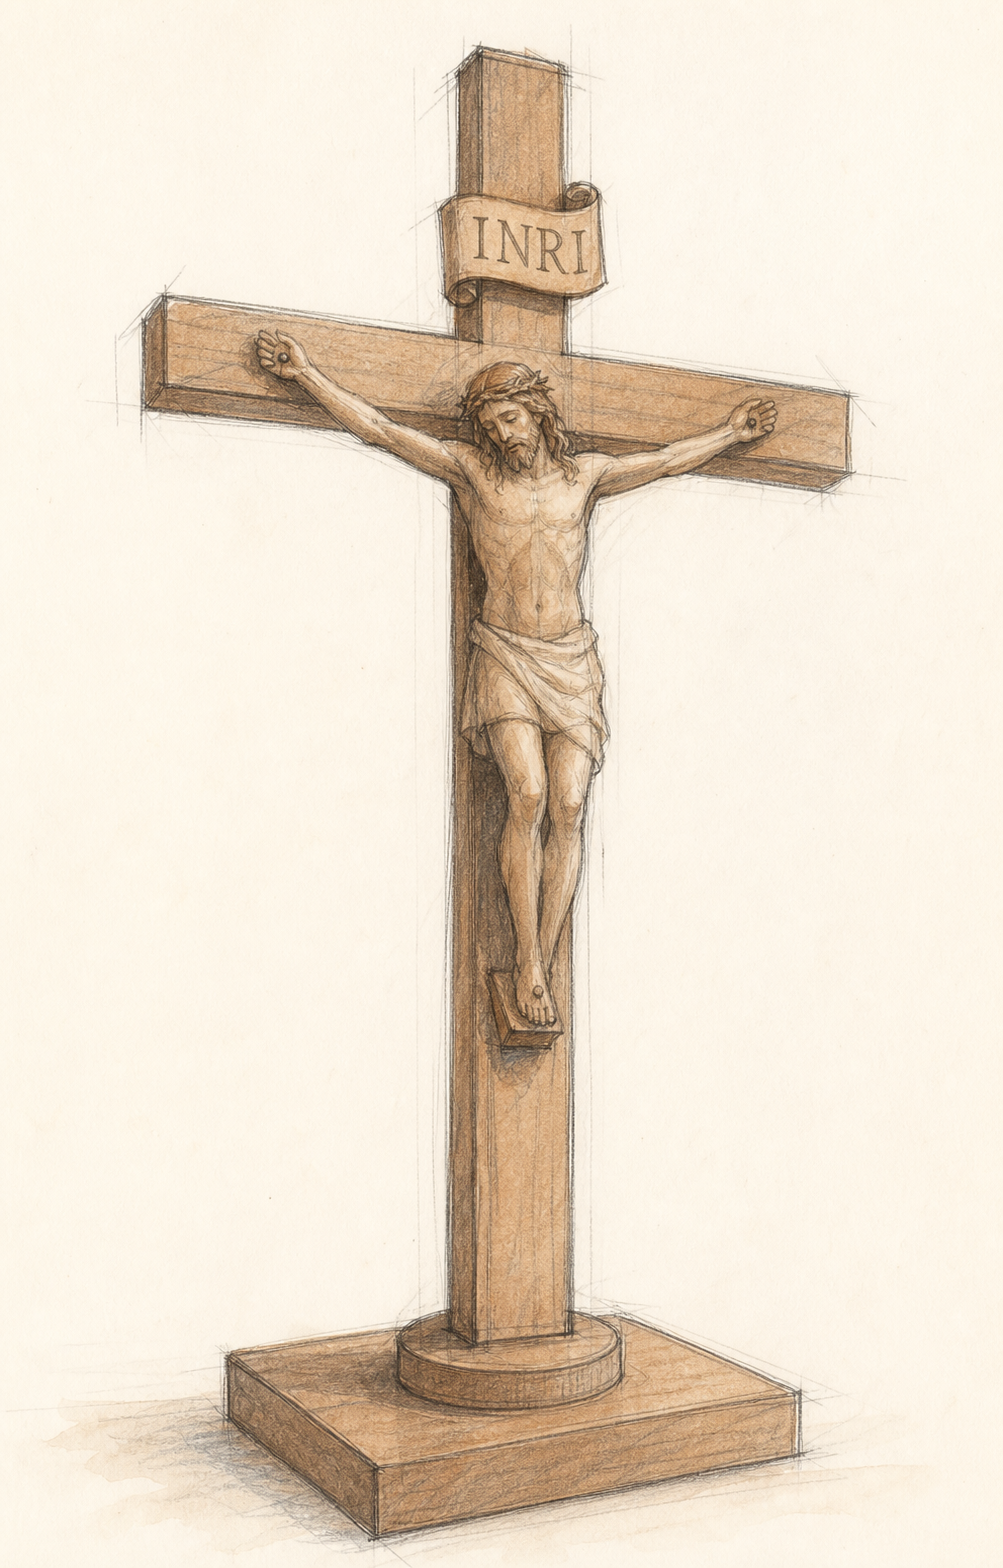
Transparency note: this early concept was reconstructed from the original project brief to illustrate the concept-development stage.
2. Before You Continue, What Would You Change?
Pause here and study the first concept. Try to evaluate it as a future wood carving rather than simply as an attractive image.
- Does the figure of Christ feel sufficiently three-dimensional?
- Will the face, hands and drapery remain clear when carved in wood?
- Does the plain base feel complete?
- Is the INRI plaque balanced with the figure below it?
- Which details may become fragile or unclear during production?
There is no single correct answer. The purpose is to identify what already works—and what must be resolved before detailed modeling begins.
3. Why the First Concept Needed Refinement
The first image answered what the object could be. The next stage had to answer whether it could become an expressive, stable and producible carving.
- Sculptural depth: Greater projection was added around the face, chest, arms and drapery to create stronger natural light and shadow.
- Anatomical clarity: The torso and limbs needed clearer structure without turning Christ into an exaggerated muscular figure.
- Expression: The face, inclined head, hair and crown of thorns were refined to carry the devotional character of the piece.
- Hands, feet and fabric: These common weak points in generated images were redrawn before modeling.
- INRI plaque: Its lettering, thickness, curve and position were adjusted for balance and legibility.
- Base transition: A round collar and shaped intermediate layer replaced the abrupt connection between the upright cross and the square platform.
- Carving practicality: Thin projections, deep undercuts and small details were reviewed for tool access and strength in wood.
The goal was not simply to make the design more detailed. Every change needed to improve meaning, structure or production.
4. Turn the Decisions Into a Drawing and 3D Model
The revised direction can be expressed in a more precise prompt:
Refine the freestanding crucifix. Give Christ greater sculptural depth and natural anatomy; clarify the face, crown of thorns, hands, feet and drapery. Keep the INRI plaque readable. Replace the plain pedestal with a square base, a shaped transitional layer and a round collar. Make the design reverent, stable and suitable for 3D wood carving.
The approved direction was first clarified as a front-view drawing. A designer then converted that drawing into a three-dimensional model, correcting anatomy, establishing depth and preparing the structure for production.
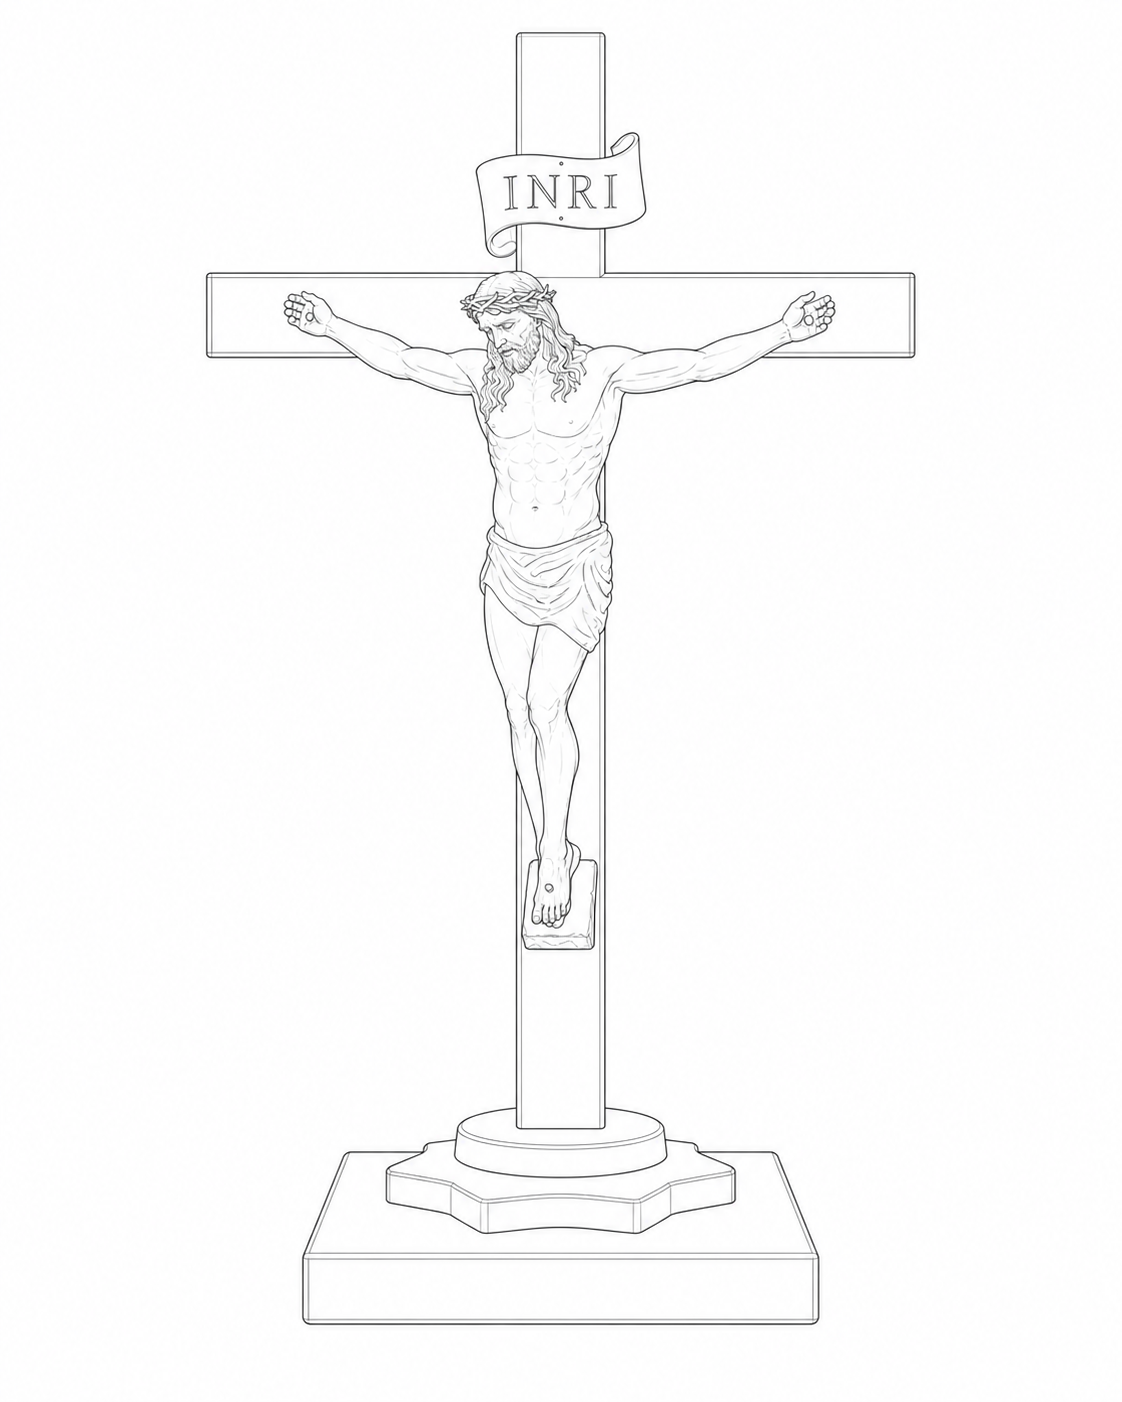
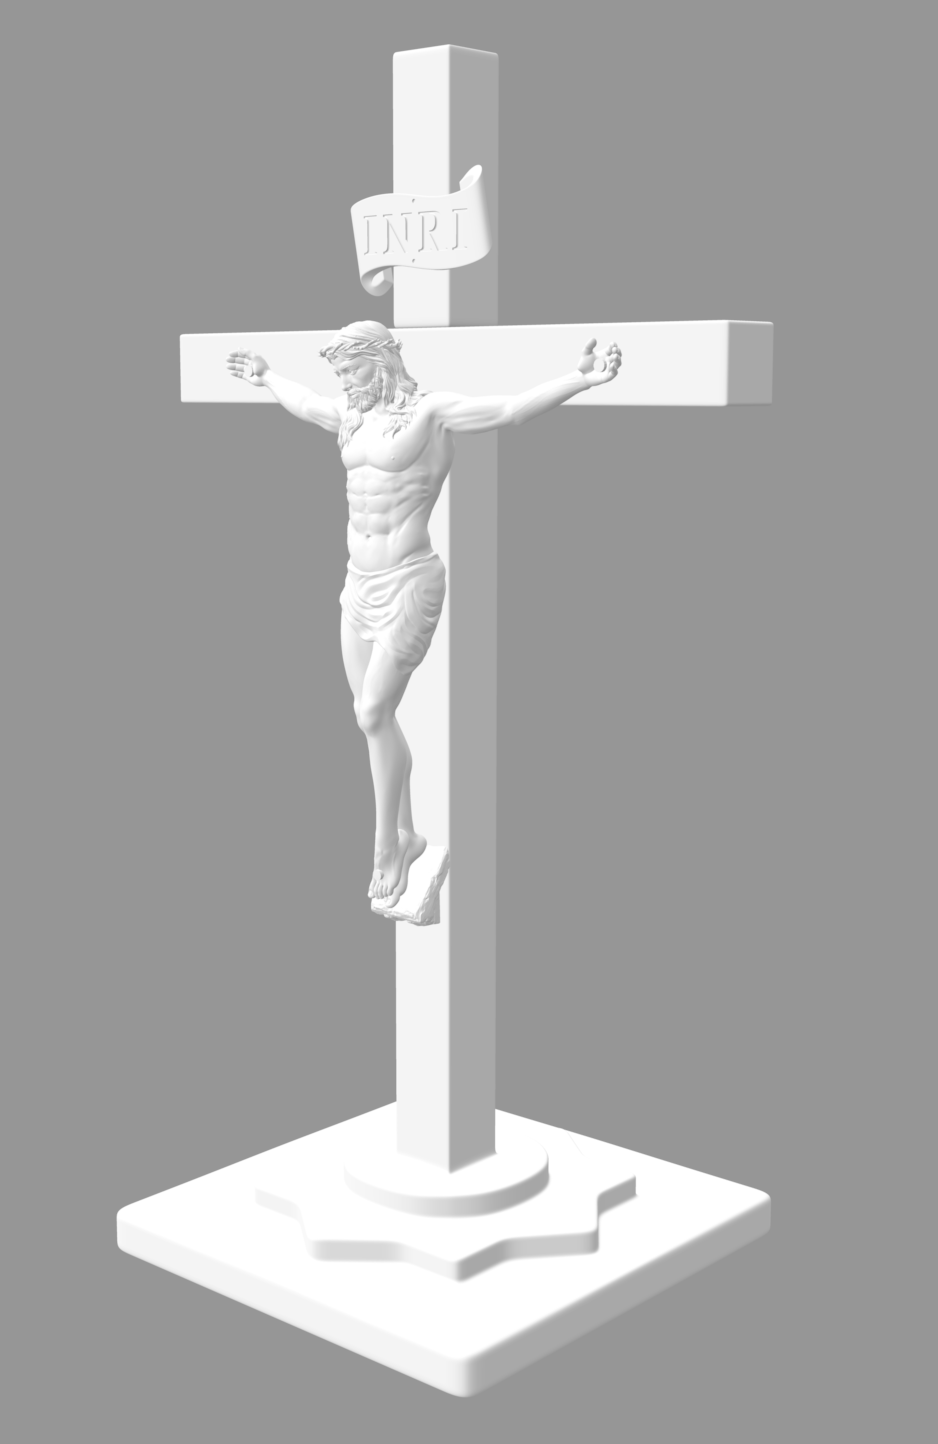
An AI image is not an STL file. A carving-ready model must have coherent anatomy, continuous surfaces, sufficient thickness and details appropriate to the final size, carving tools and direction of the wood grain.
5. From Digital Design to Finished Wood
Once the model was approved, precision carving established the main forms. The face, hands, body, drapery and edges were then refined and finished to bring warmth and clarity to the wood.
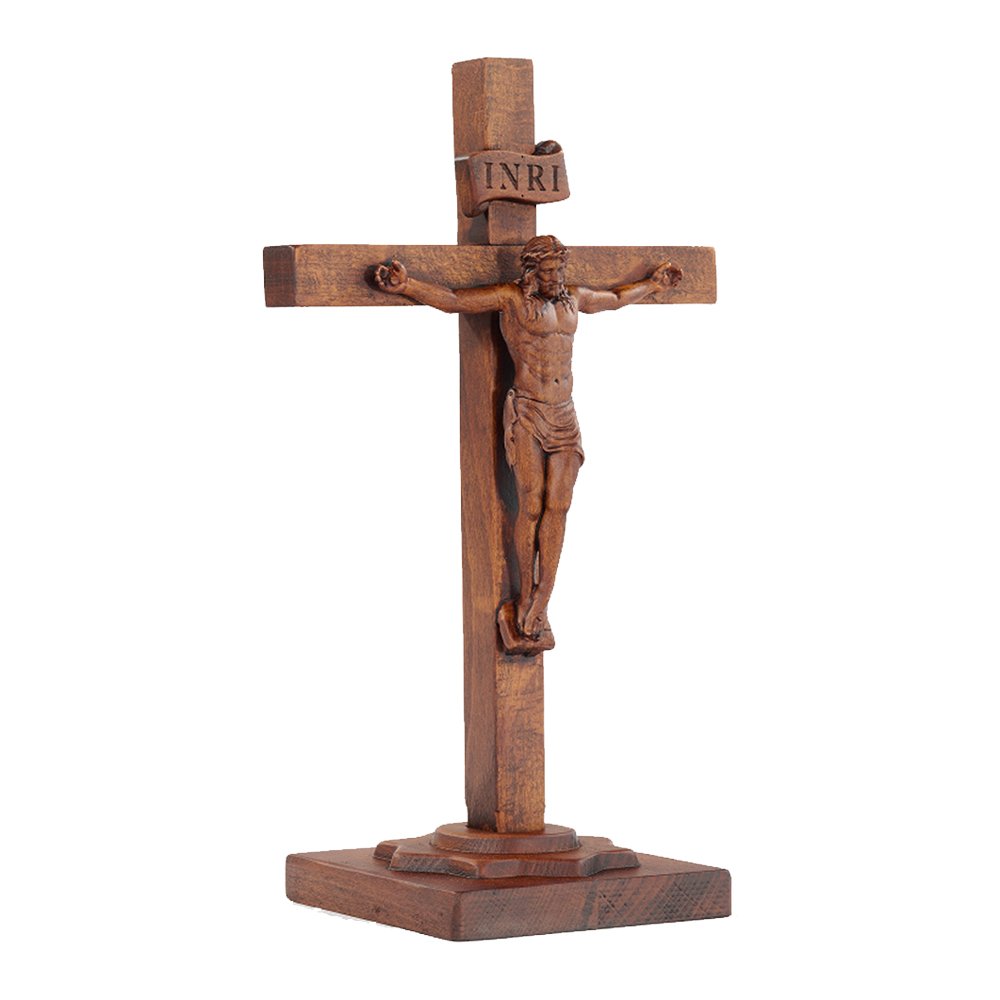
The value of AI was not that it designed the finished carving by itself. Its value was that it made an early idea visible. Once the idea could be seen, it could also be questioned, compared and improved.
Try It With Your Own Idea
Before generating an image, answer six questions:
- What religious subject would you like to create?
- Where will the carving be displayed?
- Should it be a relief or a fully three-dimensional sculpture?
- Which symbols or details must be included?
- What approximate size do you need?
- Which parts are open to interpretation?
Then ask one final question: What must change before this image can become a real wood carving?
Change one element at a time—the figure, the base, the plaque or the level of detail. This makes it easier to understand which instruction actually improves the result.
What Would You Create?
Your project can begin with a sentence, a sketch, a reference photograph or an AI-generated image. Explore our wooden crosses, learn more about our workshop, or send us your idea. We can help identify what already works, what needs refinement and what is required to turn it into a carving-ready design.
Leave your comment
Related posts
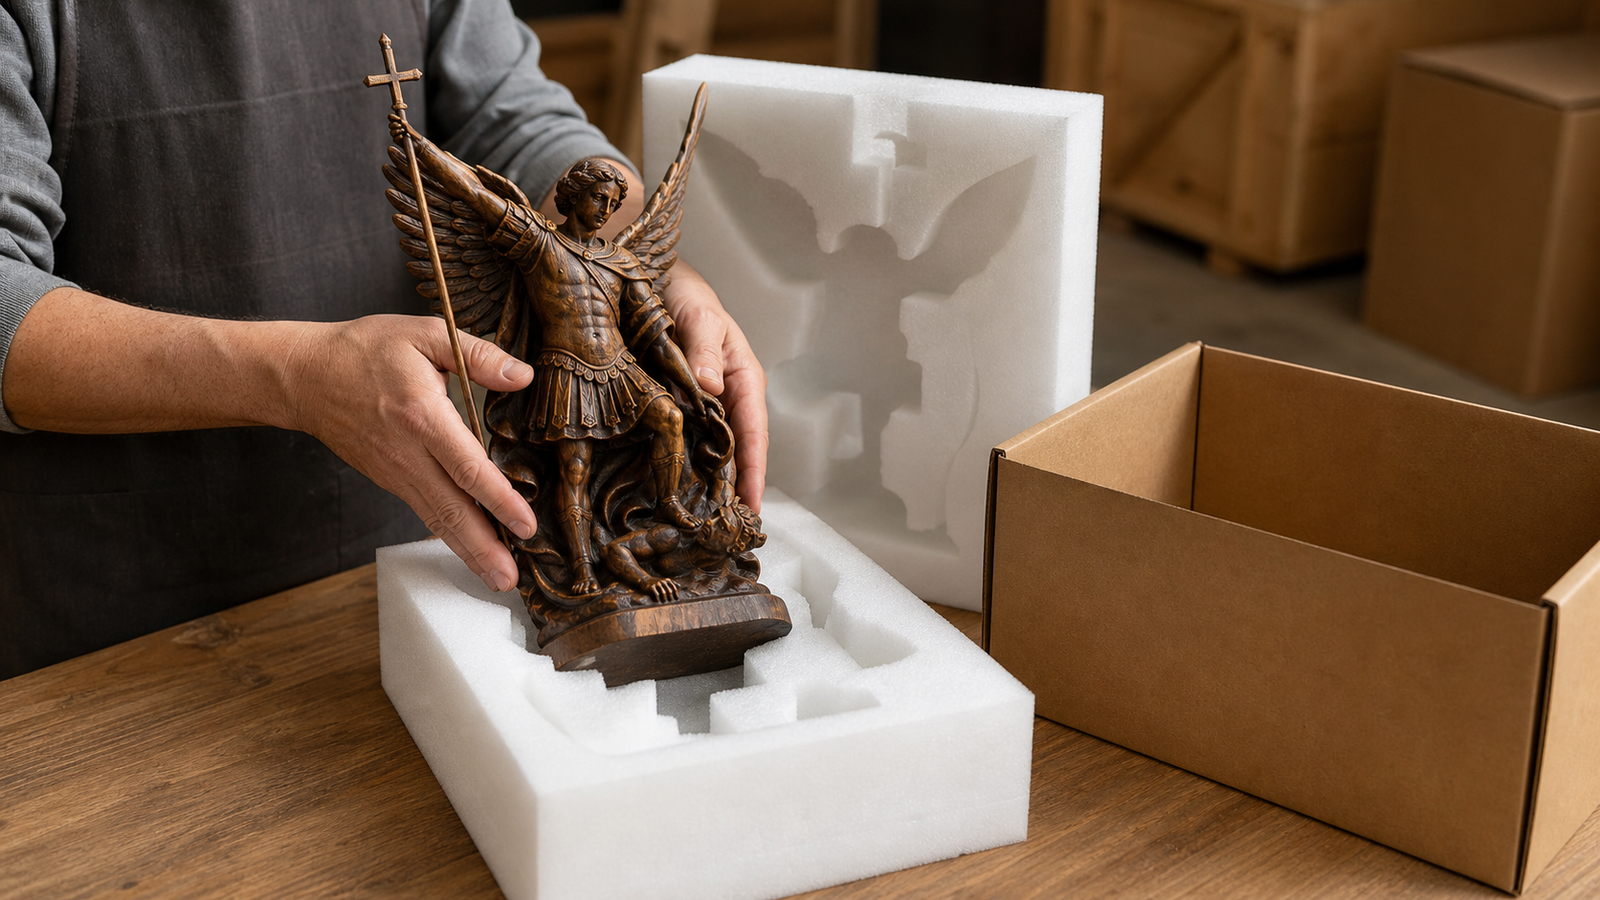
See how wood reliefs, statues and large carvings are packed for retail delivery, dropshipping, FBA and wholesale projects.
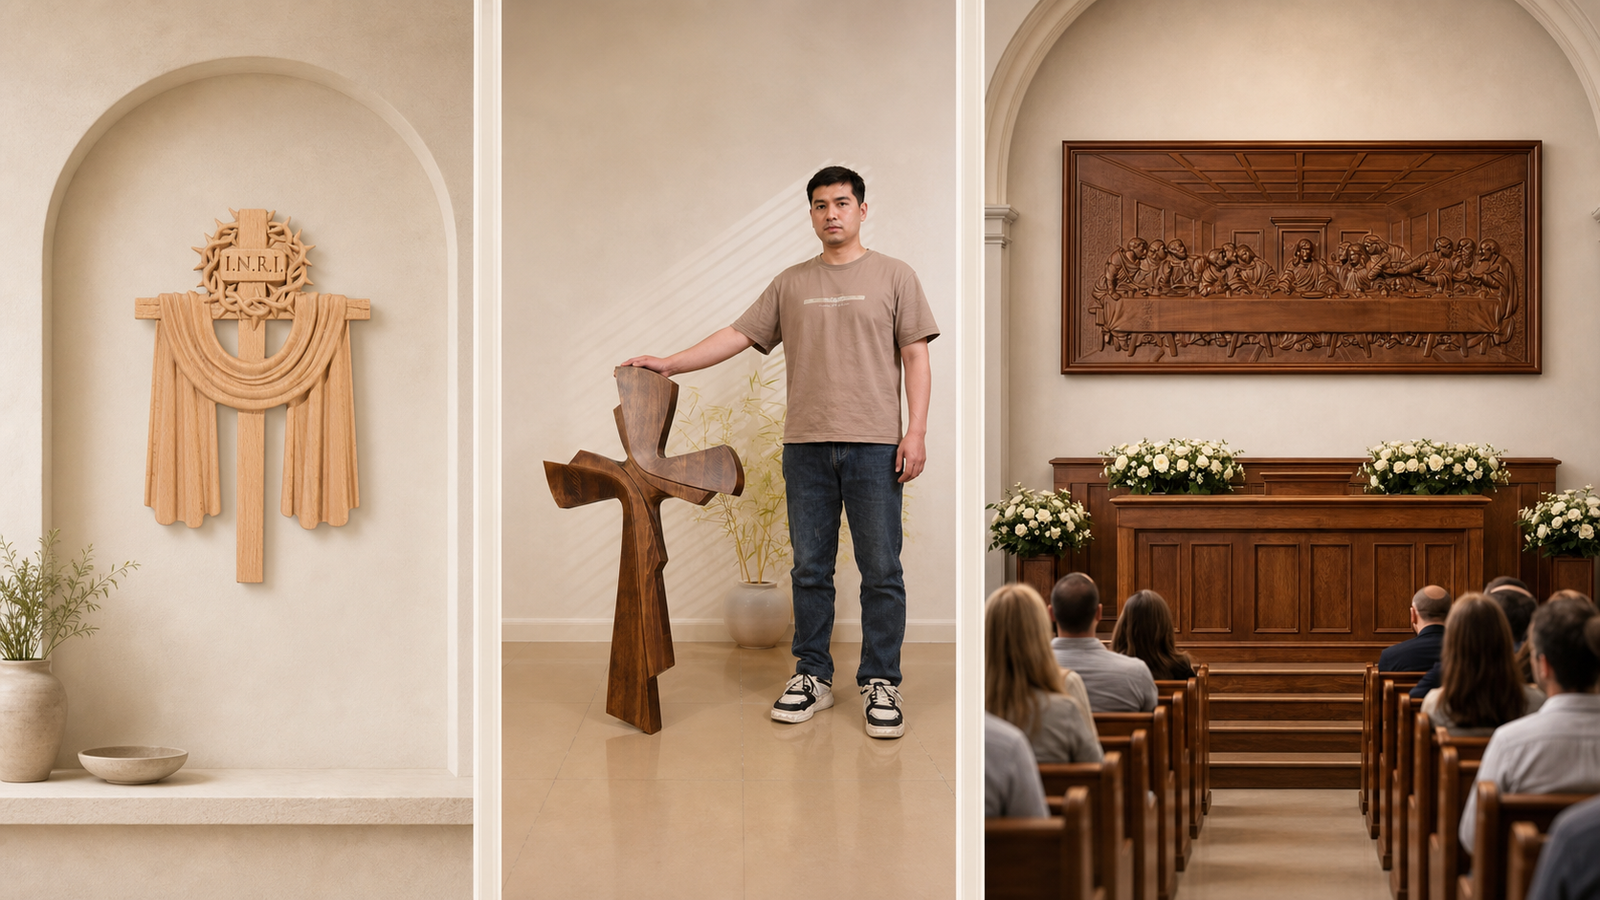
Compare sizes, depth, mounting and finishes for personal, retail and church use.